Have you ever noticed one brow sits higher than the other? Maybe you pluck stray hairs but still end with a flat arch or a too-short tail. You want to learn how to map eyebrows like a pro.
Eyebrow mapping is a shaping technique that helps you get even brows, no matter your face shape. This brow mapping tutorial uses simple tools like an eyebrow pencil, thread, or ruler to mark your brow start, arch, and tail.
We’ll guide you from mapping points to plucking stray hairs and filling sparse areas with brow gel. Keep reading.
Key Takeaways
- Map three points—start, arch, and tail—by holding a pencil or thread from the nose dimple to the inner eye corner, through the outer iris, and from the nostril to the eye’s outer corner. Celebrity stylist Melanie Marris updated this guide on February 28, 2025.
- Use precise tools—a Brow Code pre-inked mapping yarn (1 mm×30 m), floss, a ruler, and a brow pencil—to mark points, pluck stray hairs, then fill gaps with gel for natural, even brows before waxing or microblading.
- Match your brow shape to your face: high arches suit round faces, soft curves fit square faces, gentle arches frame oval faces, and low arches flatter heart shapes. Always map before filling to keep symmetry.
- Avoid common mistakes: don’t over-pluck start hairs, skip alignment, map after filling, or ignore your bone structure. Seek a brow pro when you need help to prevent uneven or sparse areas.
What Is Eyebrow Mapping?

Eyebrow mapping measures the brow start, arch, and end. Celebrity stylist Melanie Marris defines mapping as measuring brows and eyes to find the most flattering brow shape. This guide to eyebrow mapping uses the outer edge of the nose and a line from the pupil.
It suits pros and DIY fans who crave symmetry.
Mapping helps sculpt symmetrical brows, even before microblading, waxing, or tweezing. Tools like yarn, measuring sticks, brow pencils, and angled brushes give precision. Melanie Rud updated this guide on February 28, 2025, to keep brow mapping consistent despite trend shifts.
It frames your face with perfectly shaped brows that match your facial structure.
How to Map Eyebrows: Steps to Map Eyebrows Like a Pro
Grab floss, a cosmetic pencil, and a straightedge for precise eyebrow mapping. Our brow mapping 101 guide cuts through guesswork so you shape flawless arches like a pro.
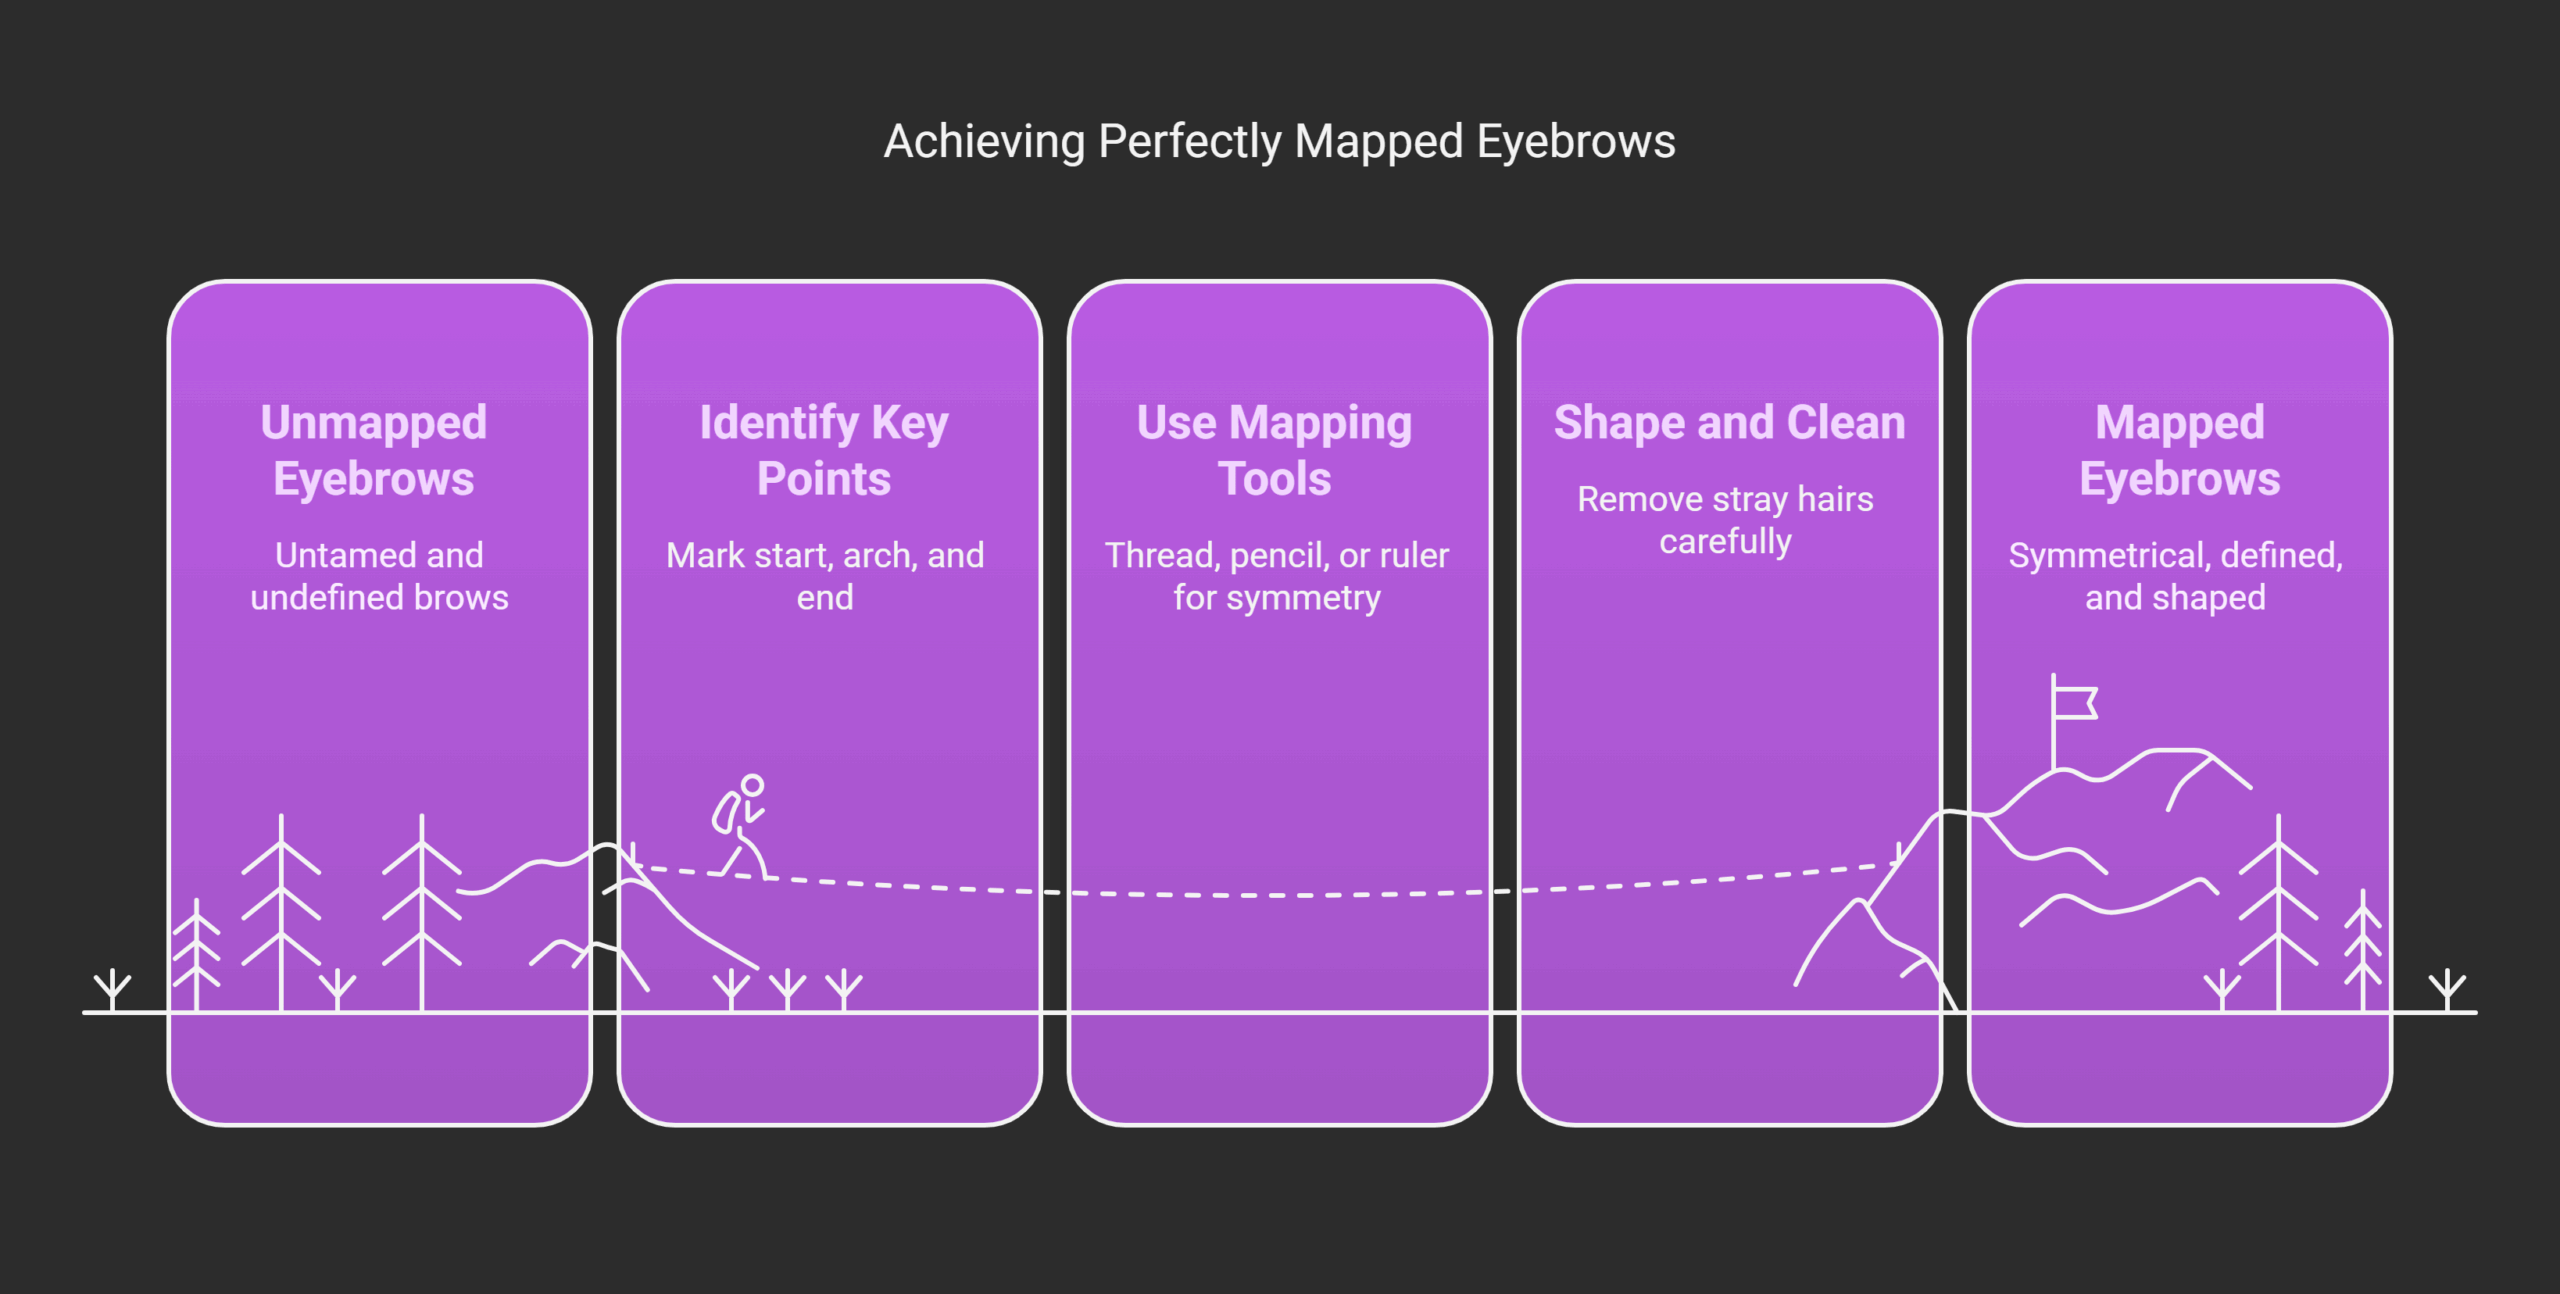
Identify the brow start, arch, and end
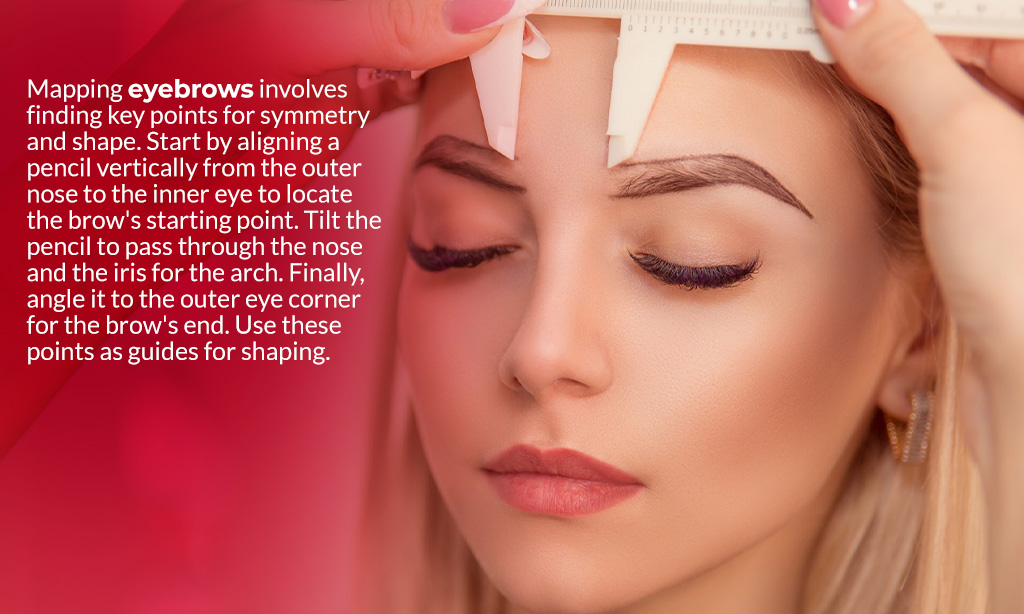
Map the brow Start by placing a pencil vertically from the dimple of the nose to the inner corner of your eye. Mark where it meets brow hairs. Next, find the arch. Angle the pencil from the nose dimple through the outer iris and note its highest point.
For the tail, tilt the pencil from the nostril to the outer corner and mark the end of the brow. You can also place the thread or use the Supermodel Brow Compass for this step-by-step guide to brow mapping 101.
Those key marks guide plucking (hair removal) and tinting to craft natural-looking eyebrows. Brow pencils trace the ideal brow length with ease. You create symmetry and avoid uneven brows.
Fans of microbladed brows and natural brow enthusiasts praise this simple cosmetics tool.
Use tools like thread, pencil, or ruler for symmetry
Grab a spool of pre-inked mapping yarn from Brow Code, in black or white, 1 mm wide and 30 m long. Press a strand across your brow area to spot the natural arch and the highest point of the brow.
Align one end along the bridge of the nose to mark where the brow should begin. Use a ruler and pencil to chart the ideal brow shape and ensure symmetry.
Thread horizontally for the brow arch, then tap the tail and end with pencil marks. Try the Brow Finder tool to frame your face and nail perfect brows. Clean stray hairs with the Brow Mapping Kit while you follow the Pro Brow Mapping Video for hands-on tips.
Clients enjoy free 1-2-1 virtual supermodel brow clinic consultations for a step-by-step guide to fuller-looking brows. Charlotte Tilbury Beauty has won over 400 awards since 2013 for its brow essentials.
Shape and clean up stray hairs
Brush along your eyebrow shape to tame wild hairs. Trim stray tips with small scissors. Wax pulls out hairs outside the outline. You can also try a shaping technique that uses thread (yarn) to lift fine strands from the root.
Remove each hair solo. Check symmetry after each move.
Hold tweezers to clean stray hairs around the arch. Shape brows using the start, arch, and end points. This helps create brows that match your unique facial structure. Step back and view your face in the mirror.
Adjust one side, then the other. Reassess balance often.
Tips for Perfectly Shaped Brows
Don’t sell yourself short—grab a fine brow pencil, sketch your arch along the cheekbone, tame strays with a tiny comb, dot on tint for gaps, and stick around for more hacks.
Match the brow shape to your face structure
Round faces suit high arches. Square faces need soft curves. Oval faces work with gentle arches. Heart shapes favor a low arch. Map each brow with golden ratio lines. Use a thread and a ruler to mark points of the brow.
Use a brow pencil to draw light guide dots. Mirrors and spoolies help too.
Match the shape of your eyebrows to your bone structure. Keep in mind that brows are sisters, not twins. Hair growth slows with age, so regrowth can take weeks. Shaping the brows with care prevents bald spots.
Use a spoolie to blend pencil marks. Follow your guide dots for even arches.
Use makeup to enhance sparse areas
Grab an eyebrow pencil to fill sparse spots. Brush hairs up, then dot pigment along gaps. Paint tiny strokes with a micro brush and colored gel for a feathery finish. Build intensity in light layers to prevent clumps.
Lock the look with clear fixing gel so brows stay put. Keep extra pencil refills on hand to avoid last-minute scrambles. Face wind or rain, your brows will hold like small soldiers ready for action.
Common Mistakes to Avoid in Eyebrow Mapping
Tweezing too much can leave gaps that stump regrowth. Seek a brow pro if you doubt your shape.
- Over-plucking start hairs: You disrupt brow anatomy and facial symmetry. Tweeze sparingly since you can remove more later but not regrow hair fast. Use a stainless steel gauge or cotton thread to map points first, then grab stray hairs with an angled tip hair extractor.
- Skipping the alignment step: You risk uneven arches and tails. Use a spoolie brush and micro ruler to check Golden Ratio.
- Mapping after filling: You may miss true hairlines. Map before you fill with an eyebrow pencil or tinted brow gel.
- Ignoring face structure: You might shape brows that clash with your jaw or forehead. Match arch height to your cheekbone angle.
- Avoiding pro input: You may shape unshapely brows with poor technique. A brow artist can guide your angles and avoid stray hair mistakes.
Takeaways
Your brow game just leveled up. You can master brow mapping with a ruler, silk thread, and a brow pencil. A slanted tweezer helps you pluck stray hairs clean. Small marks make a big difference in symmetry.
Oval, square, or t-shaped face; each shape looks better with mapped brows. Get that handheld mirror and spoolie, and watch your arches pop.
FAQs on How to Map Eyebrows
1. What is eyebrow mapping?
Eyebrow mapping is a guide to mark your brow start, arch, and end. It’s like drawing a map for your face, to frame your eyes just right.
2. How do I find my brow start, arch, and end points?
Place a straight tool at the side of your nose and inner brow to mark the start. Angle it through the center of your iris for the arch. Then tilt it to the outer nose corner to mark the end. Light dots show where to connect the line.
3. What tools do I need for eyebrow mapping?
You need a straight tool, a drawing stick, and a clean brush. The straight tool keeps lines even. The drawing stick marks each dot. The clean brush blends strokes into soft, hairlike lines.
4. How long does it take to map brows like a pro?
At first, it might take five to eight minutes. With a bit of practice, you finish in two. It gets as quick as tying your shoe, and soon it feels second nature.